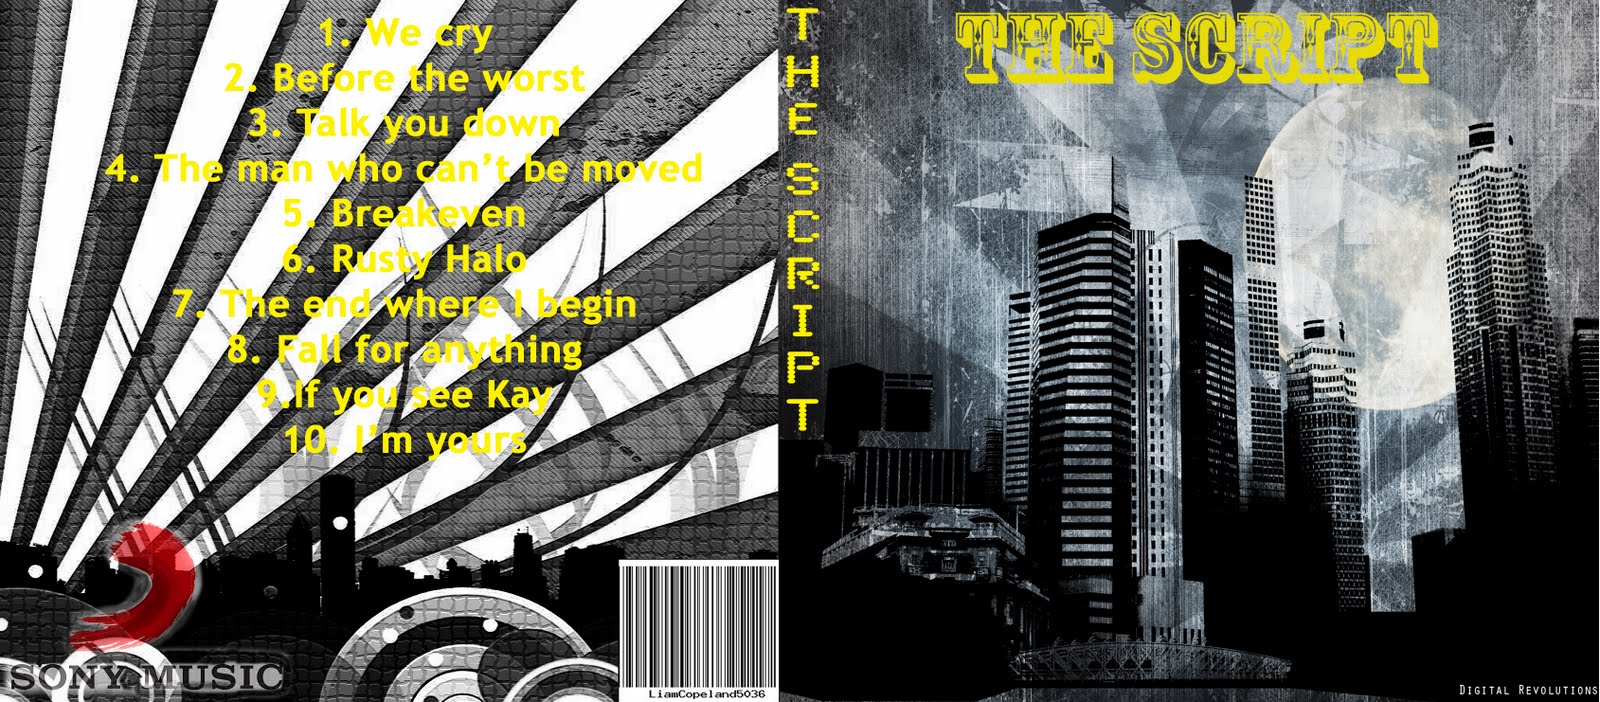


These are the outside covers of A digipak which I have created. This product was very simple as I chose good quality images to begin with so I didn't need many effects on these images. Producing the outside of this digipak has really given me a good idea of what images are suitable for the digipak based on my particular artist and the genre of them.
I used the rubber tool and also the texture tool when creating this digipak. I used the rubber tool on the sony music label logo and text after I had used the lasso tool to cut these out. I used the rubber to smooth out the edges of the image and then also give the image a faded effect by changing the opacity of the rubber to 40%. The texture tool I used for the back cover image just to make the image more interesting and attractive.
Once I had input the track listing on the back cover I felt that his was not easy to read. To overcome this I altered the colour levels of the background such as the saturation of the image and also made this image lighter. I also changed the text colour to black which made this a lot clearer. However I felt the back cover of the digipak was very dull so I decided to change the text back to yellow and alter the colour levels of the image. I made the image lighter so the text stood out a bit more to the audience.
Creating this digipak has helped me a lot as I now know the kinds of images which are suitable for my production, such as tall buildings, housing estates and busy streets which I will be able to take pictures of for my final digipak.
This is a really excellent post Liam. It is clear and provides excellent evidence of the process you have gone through in creating this image. Really well done!
ReplyDelete